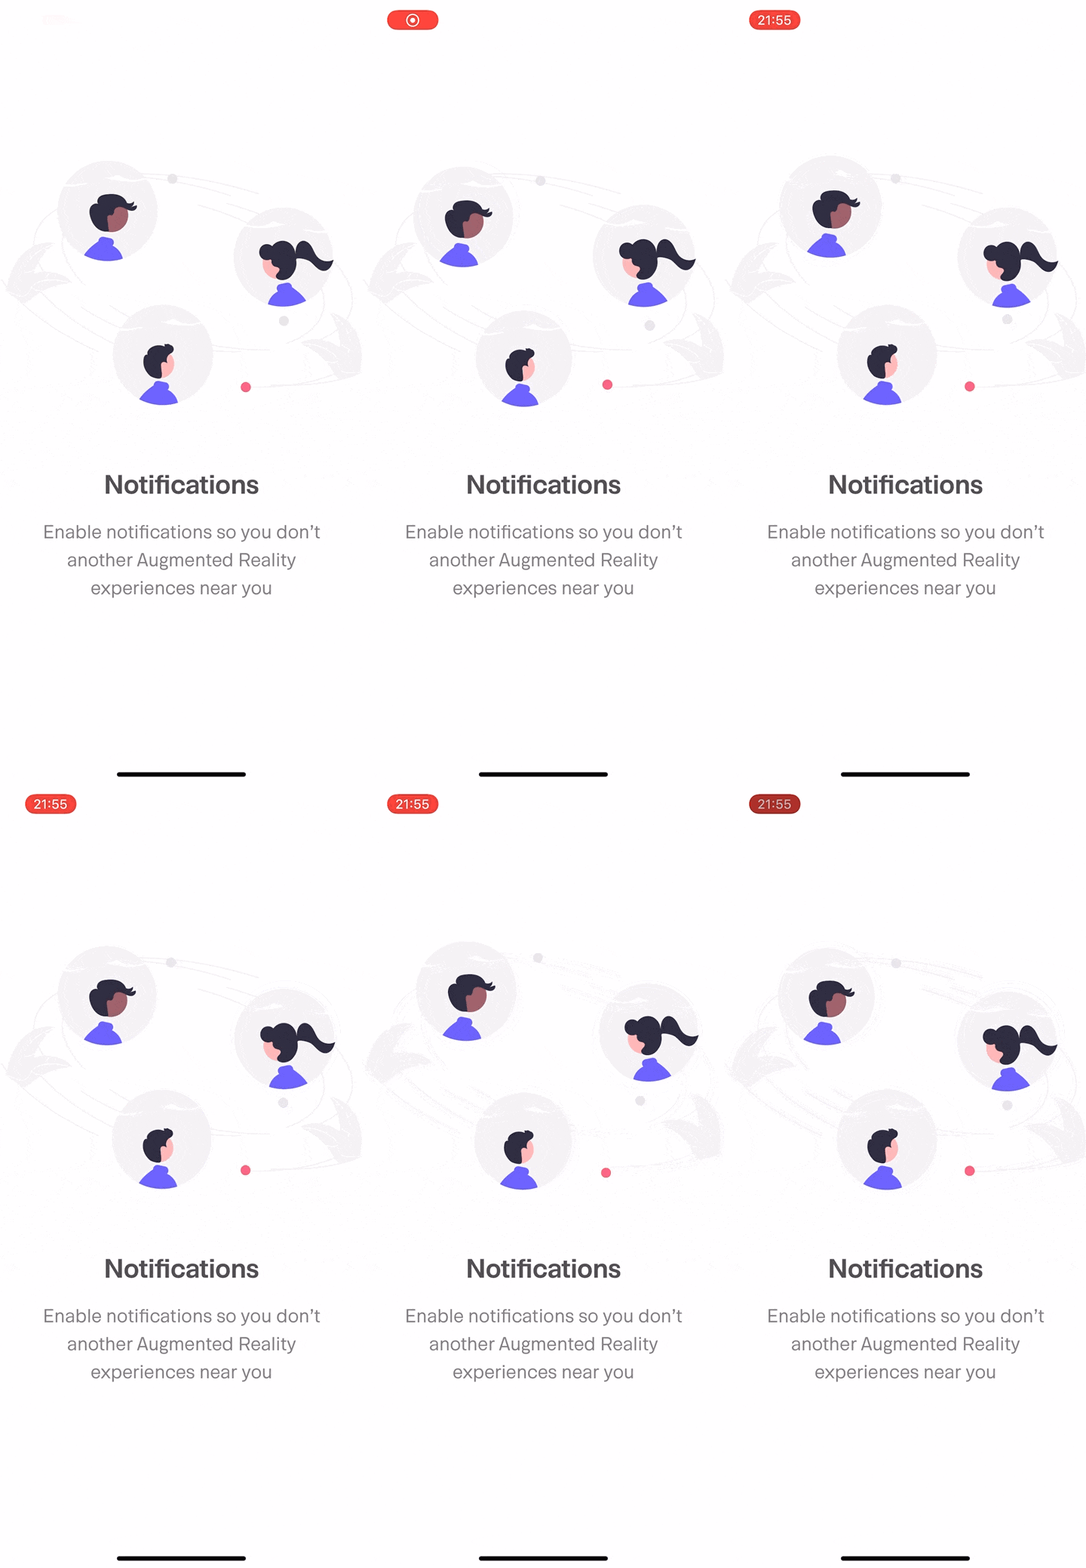
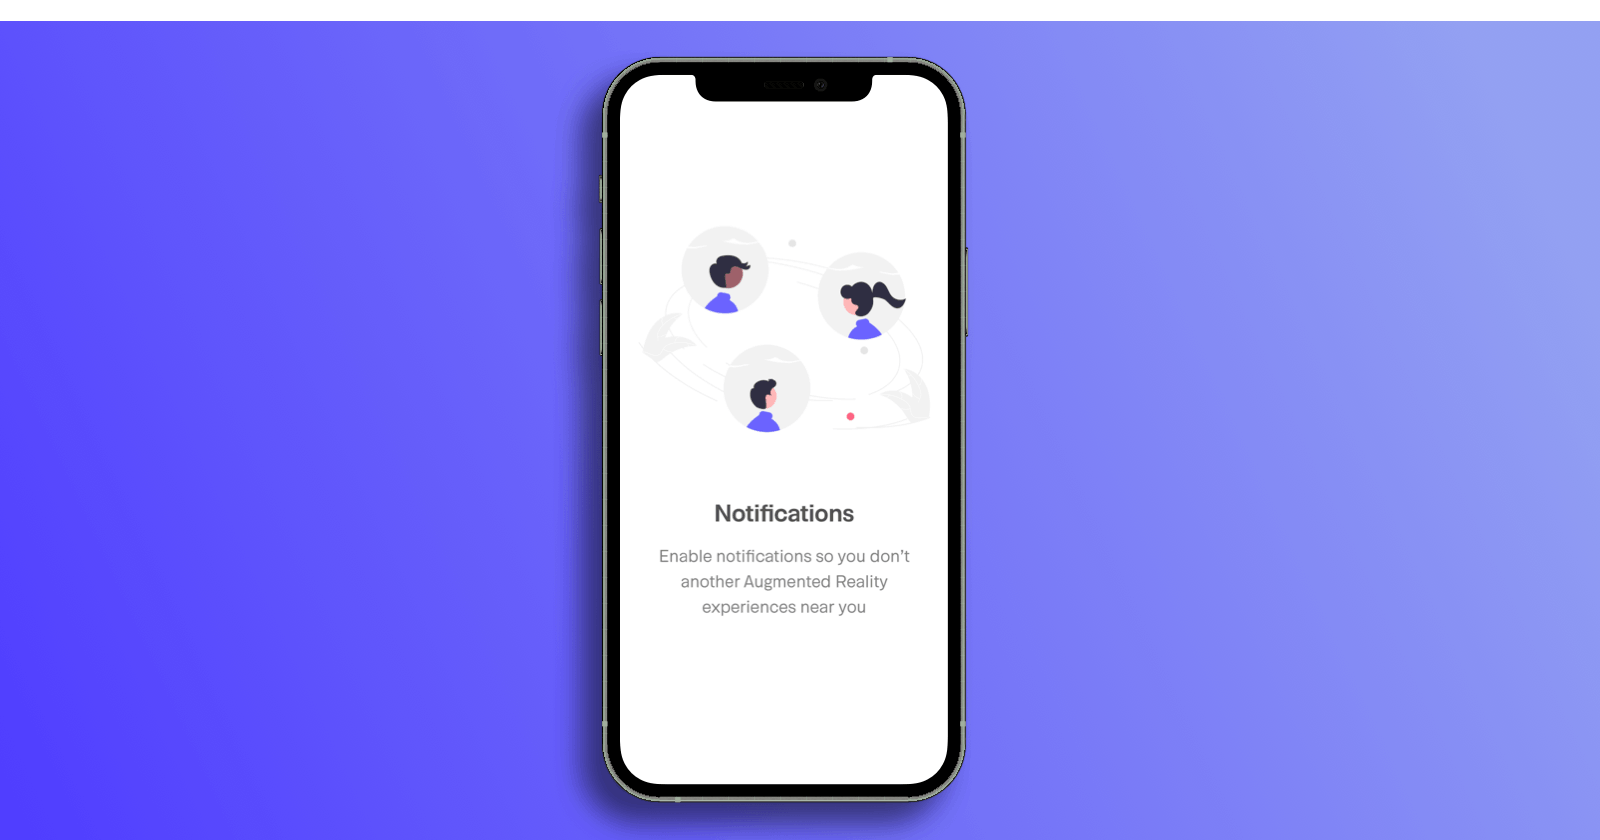
Empty screens don't have to be boring, we can add details to create a moment that is engaging, welcoming and delight. For this we can use different types of resources that UIKit provides us.

Parallax effect on motion
To implement Parallax Effect motion, we need to use UIMotionEffect, which is a class that defines motion-based modifiers for views. We use UIInterpolatingMotionEffect for adding those effects to the view, and we need to assign appropriate values to the minimumRelativeValue and maximumRelativeValue properties. As the user moves the device, the motion effect started translating the fixed offset values returned by the system to the range of values specified.
func addMotionEffect() {
    let min = CGFloat(-30)
    let max = CGFloat(30)
    let xMotion = UIInterpolatingMotionEffect(keyPath: "layer.transform.translation.x",
                                              type: .tiltAlongHorizontalAxis)
    xMotion.minimumRelativeValue = min
    xMotion.maximumRelativeValue = max
    let yMotion = UIInterpolatingMotionEffect(keyPath: "layer.transform.translation.y",
                                              type: .tiltAlongVerticalAxis)
    yMotion.minimumRelativeValue = min
    yMotion.maximumRelativeValue = max
    let motionEffectGroup = UIMotionEffectGroup()
    motionEffectGroup.motionEffects = [xMotion, yMotion]
    view.addMotionEffect(motionEffectGroup)
}
Randomized animations
To create random animations we are going to help ourselves with UIViewPropertyAnimator; a class that animates changes to views and allows dynamic modification of those animations.
We will define a range for both the scale and translation of the view. Once the initial animation finishes we will call the animation that will be in charge of resetting the scale and the translation and then starting the animation again
 func randomizedAnimation(_ view: UIView ) {
     let completionAnimation = UIViewPropertyAnimator(duration: 1.5, curve: .easeInOut) {
          view.transform = .identity
     }
     completionAnimation.addCompletion { _ in self.randomizedAnimation(view) }
     let iconAnimation = UIViewPropertyAnimator(duration: 1.5, curve: .easeInOut) {
     let scale = CGFloat.random(in: 0.95...1.05)
     view.transform = CGAffineTransform(scaleX: scale, y: scale).translatedBy(x: CGFloat.random(in: -5...5),
                                                                              y: CGFloat.random(in: -5...5))
     }
     iconAnimation.addCompletion { _ in completionAnimation.startAnimation() }
     iconAnimation.startAnimation()
}
Bounce animation
To add a bounce effect to the views, we can also use the UIViewPropertyAnimator, here we will first add a UITapGesture to the view
view.addGestureRecognizer(UITapGestureRecognizer(target: self,
                                                 action: #selector(tapView(_:))))
Note: If the gesture is added to a UIImageView, remember to set isUserInteractionEnabled to true, since in the case of UIImageView the default value is false
Once the gesture is added we simply create an animation that scales the view and once the animation is finished we return to its normal scale
func bounceView(_ view: UIView) {
    let bounceAnimation = UIViewPropertyAnimator(duration: 0.25, curve: .easeInOut) {
         view.transform = CGAffineTransform(scaleX: 1.1, y: 1.1)
    }
    bounceAnimation.addCompletion { _ in
         UIViewPropertyAnimator(duration: 0.25, curve: .easeInOut) {
              view.transform = .identity
         }.startAnimation()
    }
    bounceAnimation.startAnimation()
 }
We can create haptics to simulate physical impacts, for this we use the UIImpactFeedbackGenerator class and add it to the tap of the view
 let feedbackGenerator = UIImpactFeedbackGenerator(style: .light)
 feedbackGenerator.impactOccurred()

